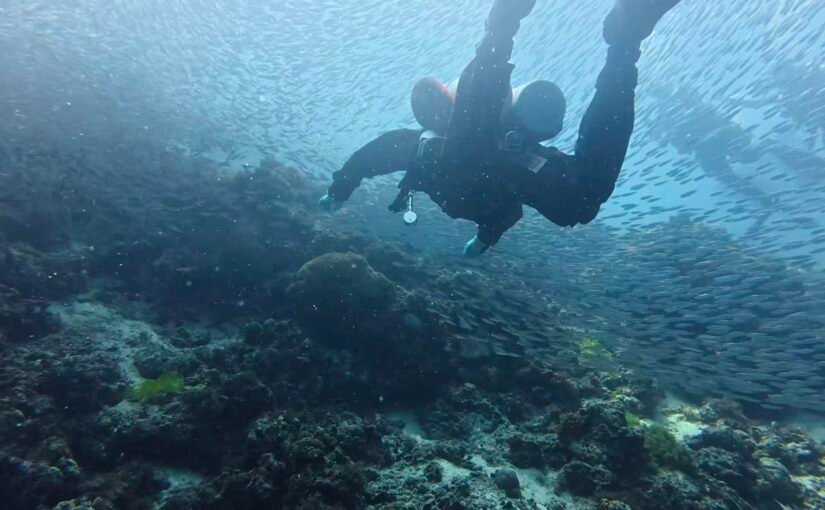
Diving Safety Tips: From the Surface to the Boat (What Your OW Course Didn’t Teach You)

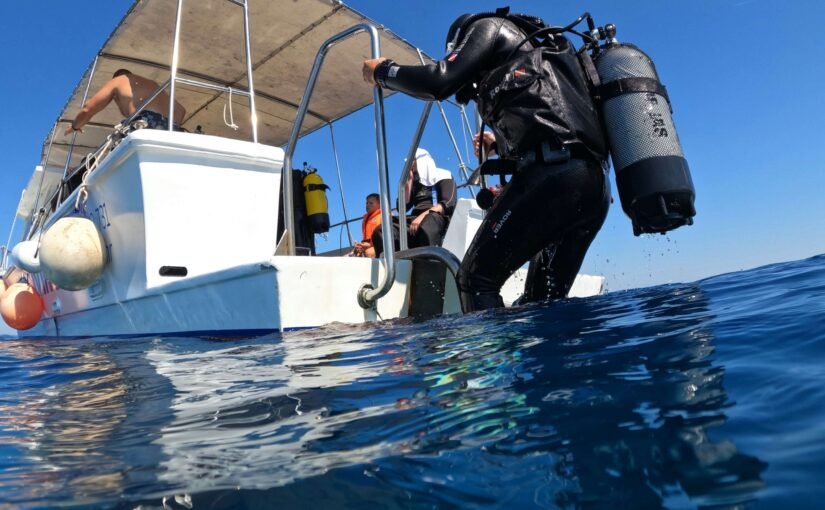
Most Open Water courses focus on what happens underwater. But the transition from the surface back to the boat is one of the most chaotic and injury‑prone moments of the dive. Here are 8 practical diving safety tips for your return to the boat that you won’t find in the standard training manual.

8 Practical Boat‑Return Safety Tips

1. Hold onto an Inflated DSMB

If the surface is choppy, inflate your Delayed Surface Marker Buoy (DSMB) and hold onto it. It provides extra positive buoyancy and keeps the waves from splashing you in the face.

2. Never Put Your Mask on Your Forehead

The ocean loves masks that are pushed up to the forehead. One wave is all it takes to sweep it away forever. (I have recovered countless masks from the seabed). If you must take it off your eyes, let it hang around your neck. Better yet, just keep it on your face until you are safely on the boat.

3. Keep a Safe Distance from the Ladder

Don’t crowd the boat ladder. Hold onto the safety line and keep a safe distance from the diver currently climbing. Always protect your head with your hands in case of sudden boat movement.

4. Take Your Fins Off ON the Ladder

Some divers take their fins off in the water to swim to the ladder. This is a huge mistake. Without fins, you have zero propulsion. In a current, you will be swept past the stern and won’t be able to swim back. Wait until you are physically holding the ladder to remove your fins.

5. Look for the Surface Line

Dive boats usually trail a floating safety line downstream from the ladder. Even careful divers get pushed away by currents. Grab this line to pull yourself back to the ladder safely.

6. Do NOT Hand Up Your BCD First

Pay attention to the order of removing your gear. Never hand your BCD and tank up to the crew first. Once you do, you lose control of your buoyancy. If the current pushes you away, you have no positive flotation. Hand up your weight belt first, but keep your BCD on until you are stabilized at the ladder.

7. Clip Off All Loose Gear

Use [bolt snaps](https://en.wikipedia.org/wiki/Snap_hook) or quick links to clip all detachable gear—cameras, torches, backup masks—to the D‑rings on your BCD before climbing. Never hold them in your hands. You will drop them eventually.

8. Secure Your Hoses

Keep your hoses stowed and out of the water. Anything trailing on the surface will tangle with whatever it touches, causing unexpected problems.

The Final Verdict: Master These Diving Safety Tips for Surface Exit

The boarding process isn’t just a checklist item. These simple habits prevent lost gear and fatal incidents such as being swept away. Slow down, maintain your buoyancy, and clip off anything that floats.

If you are looking for more practical advice to improve your safety, check out our guides on What Is a Safety Stop in Scuba Diving and learn how to master your BCD buoyancy fundamentals.

BCD Fundamentals: How to refine your buoyancy control

If you are passionate about scuba diving, you are probably looking to buy your own gear. The BCD (Buoyancy Control Device) is one of the most essential purchases you will make. But with so many styles and brands on the market, beginners often get overwhelmed. How should you choose?

Quick Answer: My best advice from years of technical diving experience is simple: choose a backplate and wing (BP/W) system that meets DIR standards. The wing’s lift capacity and shape must match the cylinders you use—for a single tank, a 20–30 lb (9–13 kg) wing is usually perfect.

Here are the BCD fundamentals you need to understand to refine your buoyancy control.

Why You Should Choose a DIR-Style Backplate & Wing

A DIR-style system is elegantly simple, yet it completely changes how you interact with the water. Unlike bulky jacket BCDs, this minimalist design prevents trapped air and keeps you streamlined. It isn’t just for technical divers; it is the most efficient tool available for mastering buoyancy control.

On the surface, you press the inflator button, and the wing provides positive buoyancy to keep you floating comfortably. Underwater, however, things are different. You use the BCD to control your descent rate. Once you reach your target depth, you add air to offset the negative buoyancy of your gear and environmental pressure changes, establishing neutral buoyancy to hover.

Unlike jacket BCDs, the wing design allows you to naturally and comfortably adjust your body into the perfect Trim (horizontal posture). During your ascent, you use the BCD to control your ascent rate, completing your safety stop or decompression stop at your planned depth.

The True Purpose of a Buoyancy Control Device

Before you practice inflating and venting, you need to correct a common misconception: your buoyancy control device is not the source of your neutral buoyancy.

Your baseline neutral buoyancy comes from proper weighting. The BCD is only used to offset temporary changes: as you consume gas from your cylinder, your gear becomes lighter; as you descend, your wetsuit or drysuit is compressed, reducing buoyancy; as you ascend, the gas expands, increasing buoyancy. The BCD provides small, controlled amounts of buoyancy to balance these shifts.

Understanding this distinction is the difference between clean buoyancy control and the common bad habit of “pump a little, dump a little.” If you constantly need to add large amounts of air to your BCD just to maintain depth, it means you are overweighted or using your BCD to compensate for a weighting error. This causes erratic movements, increases air consumption, and raises the risk of an uncontrolled ascent.

Core Buoyancy Control Device Operating Principles

1. Manage Your Hoses and Air Cell
On almost every dive, you will use three components: the low-pressure inflator hose, the primary dump valve, and the fast-dump valve. On a BP/W setup, the primary exhaust corrugated hose is with the inflator, and the fast-dump valve is on the lower left side of the wing.

Keep the inflator hose loose—do not pull it tight or tuck it under your armpit. A pinched hose can cause accidental inflation or prevent you from venting in an emergency. Before entering the water, check that the wing inflates evenly and sits flat behind the backplate. Asymmetrical inflation will pull you to one side and ruin your trim.

2. Short Bursts, Stay Aware of Depth Changes
Press the inflator in short bursts to add only a small amount of gas. At depth, holding the button down will easily over-inflate you. When venting, the dump valve must be higher than the air inside the wing (air travels up). If the valve is lower than the bubble, venting will be slow or impossible.

This is why your posture matters so much. With good trim, the lower dump valve on a wing is positioned perfectly for easy, smooth, and controllable venting.

3. Anticipate Depth Changes (Avoid the Lag)
There is a delay between pressing the button and the actual buoyancy change. Divers who don’t understand this often wait until they are already ascending or descending to act. By then, the momentum is established, and you need a massive amount of air to stop it. Train yourself to sense the trend of your ascent/descent and make small adjustments in advance.

4. The Buoyancy Control Device Does Not Fix Your Body Posture
I have seen many new divers trying to fix their posture by pumping air into the BCD. When you are head-down or feet-down, do not use the BCD to force a position. The BCD is not responsible for compensating for bad body posture. Fixing your posture relies on weight distribution, cylinder position, finning technique, and core muscles.

How to Achieve Perfect Buoyancy with Your BCD

Weighting → Breathing Control → BCD Adjustments

1. Calibrate Your Weighting at the End of the Dive
Here is a reliable weight check method: Near the end of your dive (when your cylinder pressure is at or below 50 bar), at the surface with all your gear on, empty your BCD. If you slowly sink to 3 meters when fully exhaling, and can hover neutrally at 3 meters when taking a normal breath, your weighting is perfect.

If you sink rapidly when you exhale at 50 bar, you are overweighted. Being overweighted forces you to carry excess gas in your BCD all dive or kick constantly to maintain depth, making buoyancy unstable. Re-check your weighting every time you change your gear setup.

2. Prioritize Lung Breathing Adjustments
Use your lungs for small depth changes, not the BCD. Take a slightly deeper breath to rise, and exhale slowly to sink. Only adjust the BCD when breathing alone cannot stabilize your depth. This habit makes your movements smooth and your buoyancy feedback controllable.

3. Build Neutral Buoyancy Gradually on Descent
At the start of the descent, your BCD should be mostly empty. Only add small amounts of air when you feel your wetsuit compress and your descent accelerate. Do not over-inflate your wing just to feel “safe.” Over-inflation creates a constant tendency to float up, which gets harder to control the deeper you go.

Underwater Practice Drills

1. Static Hover: Maintain depth for 60 seconds, breathing steadily, touching the BCD as little as possible.
2. Slow Ascent/Descent: In a 1-2 meter range, make only one tiny BCD adjustment at a time.
3. Trim Roll: Gently roll side to side and feel how the gas inside the wing shifts at different angles.

FAQ

1. Why does my buoyancy increase without adding air?
This is the gas expansion effect. At depth, the residual gas in your wing is compressed. As you return to shallower depths, pressure decreases, the gas expands, and buoyancy increases. This is why venting small amounts of air in advance during ascent is critical. Do not wait until you feel yourself floating up to react.

2. Why won’t my wing vent?
Check before the dive to ensure your wing isn’t folded. If using the corrugated hose to vent, make sure your upper body is vertical and the hose is held high, ensuring it isn’t kinked in the middle. If using the rear dump valve, slightly lift your hips in your trim position and gently pull the dump cord; you will feel the bubbles venting.

Underwater, unless the environment demands it, it is not recommended to vent via the corrugated hose. First, the volume is harder to control precisely, and you tend to dump too much gas. Second, when you use the corrugated hose to vent, you must be vertical, which changes the depth reading on your dive computer and interferes with your judgment of buoyancy trends.

if you want to know how buoyancy control techniques apply in real-world scenarios, check out our guid on [mastering your safety stop]
What Is a Safety Stop in Scuba Diving? (And What Really Matters?)

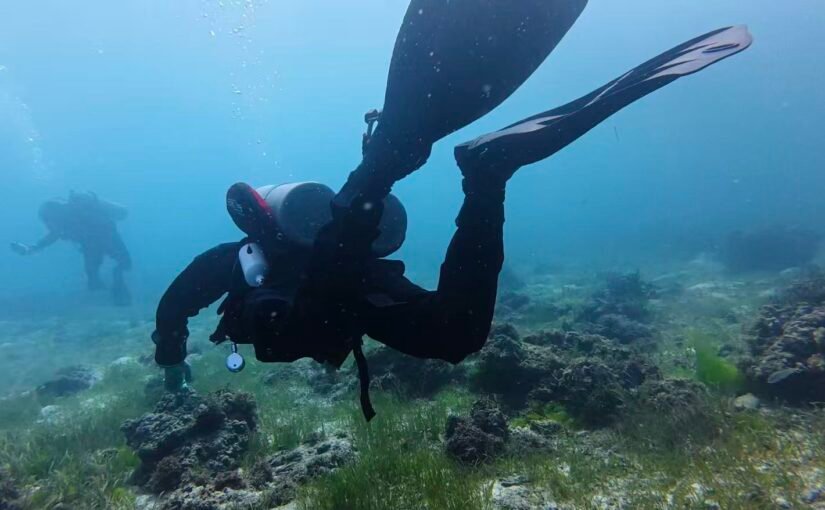
Quick Answer: A safety stop is a short pause at a shallow depth before surfacing during recreational diving, allowing your body to off-gas nitrogen in a controlled environment. Data from DAN suggests this significantly reduces venous gas bubbles in your bloodstream.

While the safety stop is crucial, controlling your overall ascent rate is even more important for giving your body time to off-gas nitrogen.

Recreational agencies like PADI and SSI typically require a maximum ascent rate of 18 meters (60 feet) per minute, but in practice, instructors usually ask you to keep it at 9 meters (30 feet) per minute, followed by a 3-minute stop at 5 meters.

However, technical diving practices demand even stricter ascent rates to achieve the same effect. For example, GUE divers ascend at 3 meters (10 feet) per minute during the final phase—and in the last 3 meters to the surface, they slow down to an incredibly gentle 1 meter per minute. This places a much higher demand on a diver’s buoyancy control and body positioning.

The Safety Stop is a Checkpoint, Not the Finish Line

Please remember: a safety stop is just a node in your ascent, not the destination. After the safety stop ends, you must continue to ascend smoothly and steadily to the surface.

I have seen inexperienced recreational divers finish their safety stop perfectly, only to bolt straight up in the last few meters. This causes the pressure inside their body’s air spaces to change far too rapidly. If the expanding gas cannot vent properly, it can easily rupture delicate capillaries, resulting in a sudden nosebleed. The final 5 meters back to the surface demand the same strict control over your ascent rate.

Think of your body during ascent like a shaken bottle of soda. At depth, pressure keeps the nitrogen safely dissolved. During ascent, the pressure decreases. If you rip the cap off too quickly by shooting to the surface, the soda explodes. But if you let it sit and open the cap slowly, there is no mess. Safety stops and ascent rate controls are designed for exactly this reason.

A safety stop is highly recommended in recreational diving to increase your safety margin. However, based on the physics of decompression, it is not strictly mandatory.

Safety Stop vs. Decompression Stop: Don’t Mix Them Up

Many beginners get confused here. The two are not the same:

🟢 Safety Stop (Recommended): A 3-minute pause at 5 meters. It is a best practice highly recommended for any dive deeper than 10 meters to increase your safety margin. However, based on decompression principles, it is not strictly mandatory.

🔴 Decompression Stop (Mandatory): A mandatory stop triggered when your bottom time and depth exceed the No-Decompression Limit (NDL). You must stop to let your body decompress, often for much longer than 3 minutes. Skipping a decompression stop results in an unacceptably high risk of Decompression Sickness (DCS).

The Real Challenge: Buoyancy Control

During ascent, as pressure decreases, the air inside your BCD expands proportionally. The area with the greatest proportional pressure change is the final 10 meters to the surface. When you reach the safety stop depth during ascent, the air in your BCD expands rapidly. If you cannot react quickly and effectively, you will easily float uncontrollably to the surface.

Practical Tip: Keep an eye on your depth changes on your dive computer. Vent the excess air from your BCD in small, frequent bursts. (Remember: buoyancy changes are not instantaneous; it takes a few seconds to reflect on your computer). Maintain a steady breathing rhythm. If you accidentally vent too much air, add air to your BCD in small, frequent bursts as well.

Real-world scenario (Local Dive Spotlight): PG Canyon

If you are diving at PG Canyon (Puerto Galera, Philippines), your safety stop will likely be a “blue water” drift stop. This site is famous for its dramatic underwater canyons, strong currents, and occasional downcurrents. Because there is usually no anchor line to hold onto, you must maintain neutral buoyancy while floating in the open blue. Stay close to your guide and the group, monitor your depth closely, and if the current starts pushing you during your 3-minute stop, avoid getting too close to the wall, control your breathing, and ascend as a team.

FAQ: What Should I Do If I Missed My Safety Stop While Diving?

If you miss your safety stop due to an emergency or strong current, do not panic. Do not go back down into the water to complete it.

Once you are safely back on the surface or the boat, the best thing to do is to breathe 100% oxygen. If pure oxygen is not available, breathing a rich Nitrox mix can also help. This helps your body flush out the residual nitrogen that you would have off-gassed during the stop.

Please remember: a safety stop in diving during a no-decompression dive is not a mandatory decompression stop. It is a recommended best practice to increase your safety margin, not a hard physical limit. As long as you followed a safe ascent rate and stayed within your NDL, missing the safety stop is completely safe. Please do not cause yourself unnecessary panic over a missed safety stop. You will be fine.

The Final Verdict

A safety stop is not a magic shield. It reduces risk, but it cannot rescue a reckless dive plan. However, it is a crucial habit that forces you to slow down, manage your buoyancy, and protect yourself.

Next time you are at 5 meters, enjoy those 3 minutes: look at the fish, check your pressure gauge, and ascend like a pro.

If you are a beginner looking to enter the diving world and want to understand the real risks, you can read this guide: Is Scuba Diving Dangerous?